
What Is Central Air Conditioning?
Definition and Basic Function
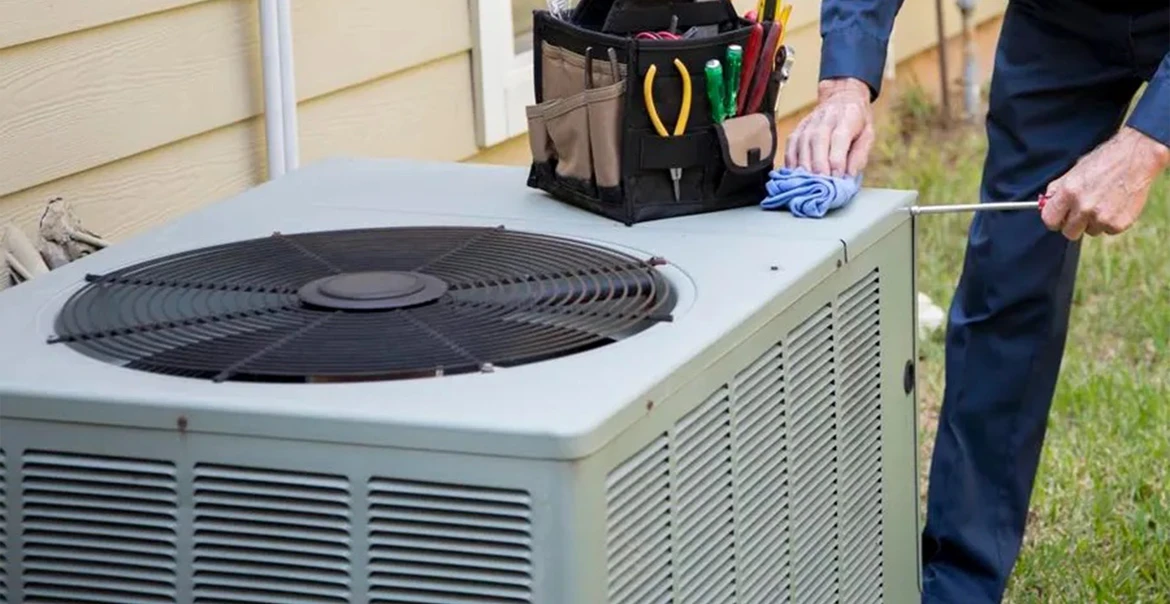
Central air conditioning is built around one mission: whole-home cooling. A central air system consists of an outdoor compressor unit, an indoor evaporator coil, and a series of ducts. The outdoor unit houses the compressor and condenser coils, which connect to indoor components via refrigerant lines routed through the walls or attic.
How It Cools an Entire Home?
The cooling process works by removing heat from the air inside your home. Refrigerant absorbs that heat, carries it outside, and releases it. Cooled air is then circulated back through your ductwork, delivering consistent comfort from room to room. Smart thermostats manage the entire process, and advanced units may include innovations like variable speed compressors that allow the system to fine-tune temperature control while using less energy.
Benefits of Installing Central Air Conditioning
One of the most underrated benefits of central AC is how unobtrusive it is. There are no loud window units rattling in the background and no cords to manage. A single thermostat puts the whole system at your fingertips, and pairing it with a smart thermostat, like the Lennox S40, lets you monitor air quality, set schedules, and adjust comfort room by room.
Beyond comfort, central AC adds measurable value to your home, supports better sleep quality, reduces allergens, and makes high-humidity climates far more livable. A high-efficiency system can also lower your monthly energy bills compared to running multiple standalone units.
Is Central Air Conditioning Right for Your Home?
Not every home arrives ready for central AC, and that is completely normal. The right system depends on a handful of factors specific to your house, your climate, and how you use your space day to day.
Homes With Existing Ductwork vs. Without
The presence or absence of ductwork shapes the conversation more than almost anything else. If your home already runs a forced-air furnace, there is a good chance that duct infrastructure can be evaluated and leveraged for a central AC installation, which streamlines the project considerably. Homes without any existing ductwork are still strong candidates, but adding ducts expands the scope of work. In situations where routing ductwork through walls and ceilings is genuinely impractical, a ductless mini-split system is worth a side-by-side comparison to see which approach fits your floor plan and budget better.
Home Size and Layout Considerations
Square footage and layout both influence which system type and configuration will perform best. A single-story home on a crawlspace, for example, is often a natural fit for a packaged unit, where the entire system lives in one outdoor cabinet and connects directly to the home's ductwork below. Multi-story homes or those with complex layouts may call for a different setup. Ceiling height, room count, and how the space flows all factor into what your Lennox dealer will recommend.
Climate and Cooling Needs
Central AC earns its value in climates where heat and humidity show up reliably and stick around. The combination of consistent cooling and automatic humidity control makes a meaningful difference in comfort and air quality, not just on the hottest days but throughout the entire season. That said, even homeowners in more temperate regions find the upgrade worthwhile for the consistency and indoor air quality benefits alone. Investing in a more efficient system up front pays dividends on your energy bill across every cooling season that follows.
Assessing Your Home for Central Air Conditioning Installation
Central AC installation is a job for a licensed professional, and each of the following steps requires the expertise to get it right. These are the steps you can expect your technician to take.
Evaluating Cooling Needs
The process begins with calculating your home's cooling load based on square footage, ceiling height, insulation levels, window placement, and local climate conditions.
Choosing the Right System Size
An undersized unit will run constantly without ever reaching your target temperature, while an oversized unit short-cycles, wasting energy and leaving the air feeling clammy. Your technician will usually perform a cooling need load calculation to determine the correct tonnage for your specific home.
Inspecting or Upgrading Ductwork
If your home has existing ductwork, your technician will inspect it for leaks, damage, or sizing issues before connecting anything. Leaky ducts drag down efficiency and can pull pollutants into your living spaces.
Permits and Local Regulations
Most municipalities require permits for HVAC installation. Your technician handles this as part of the process. Proper permits protect your investment and matter when it comes time to sell your home.
What to Expect During a Central Air Conditioning Installation?
Day-of installation moves fast when you have the right professional on the job. Here is a breakdown of a central AC installation from start to finish, and what each step actually accomplishes for your home's comfort.
1. Initial Assessment
Before any equipment gets touched, your installer walks the home. They review the layout room by room, check the condition of any existing ductwork, confirm that the electrical panel can support the new system, and cross-reference the load calculation to make sure everything lines up before the work begins. This step sets the foundation for every decision that follows.
2. Outdoor Unit Placement
The condenser unit gets set on a level, stable pad in a location that allows for proper airflow and easy service access. Placement matters more than most homeowners realize. Your installer will keep the unit clear of fencing, overgrown vegetation, and anything that could restrict airflow or trap heat around the cabinet. One detail worth knowing: if you have an irrigation system, make sure sprinkler heads are not pointed at the unit. Treated water carries minerals that accelerate corrosion on both steel and aluminum components over time.
3. Indoor Unit Setup
The air handler or evaporator coil goes in next, typically inside a utility closet, an attic space, or a basement. Your installer connects it directly to the home's duct system and confirms that airflow distribution is balanced.
4. Connecting Key Components
With both units in place, your installer runs the refrigerant lines, handles the electrical wiring, and connects the condensate drain line that carries moisture out of the system. Before wrapping this phase, your installer will walk you through where the drain line exits the home and how to do a quick monthly visual check to keep it clear of blockages. It takes about 30 seconds and can prevent a lot of headaches down the road.
5. Thermostat Installation
A thermostat swap is standard practice at this stage, and it is worth thinking about what level of control you want. Pairing your new system with the Lennox S40 Smart Thermostat gives you access to real-time air quality data, scheduling, and room-by-room temperature monitoring through Lennox Smart Room Sensors. It turns a straightforward cooling upgrade into a fully connected whole-home comfort platform.
6. System Testing and Final Checks
No installation wraps up without a thorough run-through. Your technician checks the refrigerant charge, tests airflow at the registers, confirms all safety controls are functioning as designed, and verifies that the refrigerant line connections are leak-free. Only when every checkpoint passes does the system go live. At that point, your home is ready to run.
Why Professional Installation Is Essential?
Central AC installation involves refrigerant handling, precise electrical work, and system calibration that require a licensed HVAC professional. A split system depends on matched, properly configured components to perform as engineered, and improper installation can void your warranty, reduce efficiency, and create real safety risks.
What Affects Central AC Installation Cost?
Home Size and Cooling Load
Installation cost scales with home size, cooling load, the condition of existing ductwork, and the efficiency rating of the system you choose.
Condition of Existing Ductwork
If your ductwork needs sealing, repair, or full replacement, that adds to the overall project scope. Getting it right up front pays off in long-term efficiency and comfort.
System Efficiency Rating (SEER2)
Efficiency rating is one of the biggest factors in your total installation cost, and it works in both directions. A higher SEER2-rated system typically requires a larger upfront investment, but it consistently trims your monthly energy bill during the months you need cooling most. Over the life of the system, that gap tends to close faster than most homeowners expect.
Installation Complexity
Homes that require new ductwork, electrical panel upgrades, or challenging unit placement naturally involve more labor and materials than straightforward replacements.
Common Installation Mistakes to Avoid
When installation is handled by a licensed dealer, these pitfalls are not your concern. But knowing what can go wrong reinforces why professional installation matters:
Incorrect system sizing leads to poor comfort, high energy bills, and shortened equipment life
Poor ductwork design or leaks undermine efficiency and allow contaminants into your air supply
Improper placement of units restricts airflow and can create noise, drainage, and serviceability issues
Skipping professional installation puts your warranty, your home's safety, and your investment at risk
Maintenance Tips After Installation
Regular Filter Changes
Check your air filter every month. A clogged filter restricts airflow, forces the system to work harder, and can cause the evaporator coil to freeze. Always replace a filter with one of the same type and size as the original.
Annual Professional Servicing
Schedule a tune-up before each cooling season. During the visit, your technician will clean coils, check refrigerant levels, test electrical connections, and confirm the system is running at peak efficiency.
Keeping the Outdoor Unit Clean and Clear
Trim shrubs at least two feet away from the condenser and clear away grass clippings, leaves, and debris after yard work. Modern outdoor units are built to handle year-round outdoor conditions, so covering the unit in winter is generally unnecessary.
Monitoring System Performance
Pay attention to how your system performs between service visits. Unusual sounds, rising energy bills, inconsistent temperatures, or excess humidity can all be early signs that something needs attention. Catching issues early keeps repair costs low and extends equipment life.
FAQ
How long does it take to install central air conditioning?
Most installations wrap up in one to two days. Homes that require new ductwork may take a bit longer depending on the scope of the project.
Can I install central AC in an older home?
Yes. Older homes can absolutely support central air conditioning. Your dealer will assess the existing ductwork, electrical panel, and structural layout to determine the best approach for your specific home.
Do I need a professional to install central AC?
Yes, and this one is not up for debate. Beyond the complexity of the work itself, refrigerant handling is federally regulated and requires EPA certification. The electrical connections, system calibration, and ductwork integration all demand hands-on expertise that goes well beyond a typical home improvement project. Cutting corners here puts your equipment warranty, your home's safety, and your long-term comfort all at risk. A certified Lennox dealer brings the training, tools, and matched components needed to get it done right from day one.
How long does a central AC system last?
A properly installed and maintained central air conditioner typically lasts 15 to 20 years.
Is central AC worth it if I already have window units?
For most homeowners, yes. Central air delivers consistent whole-home comfort, quieter operation, better air quality, and in many cases lower energy costs compared to running multiple window units.
Ready to Make the Switch? Connect With a Lennox Dealer.
Central air conditioning is one of the biggest upgrades for your home's air quality, energy efficiency, and overall comfort. The key is pairing the right system with the right installer. A certified Lennox dealer brings the expertise, tools, and matched equipment needed to get installation done right the first time. Find a Lennox dealer near you to get started.
We’re here to help make home comfort solutions a little clearer and a lot less stressful.
No Worries. It’s a Lennox.